Your Mac display is beautiful. It's also blasting your retinas at 500 nits after midnight.
If you've ever looked up from a late-night coding session with dry, burning eyes and a headache forming behind your forehead - you already know the problem. Mac screens are optimized for daytime clarity, not nighttime comfort.
The good news: you can fix most of this without buying a single piece of hardware. A few settings changes, one or two apps, and your Mac becomes dramatically easier on your eyes after sunset.
Here's what actually works - ranked from "do this right now" to "this is next-level."
Level 1: Built-In Settings You Should Already Have On
macOS has several eye-comfort features built in. Most people have heard of them. Most people haven't configured them properly.
Night Shift (System Settings → Displays → Night Shift)
Night Shift reduces blue light by shifting your screen's color temperature warmer. It works. But the default settings are too subtle.
How to set it up properly:
- Open System Settings → Displays → Night Shift
- Set schedule to Sunset to Sunrise (not a custom time - it adapts to your location)
- Drag the color temperature slider to about 70-80% toward "More Warm"
Most people leave the slider at the default midpoint. That's barely perceptible. Push it further. Your eyes will thank you, and you'll stop noticing the warmth within 10 minutes.
The limitation: Night Shift is binary - it's either on or off (with a brief transition). There's no gradual shift as the evening progresses. At 6:01 PM it kicks in at full intensity whether you're in a bright room or a dark one.
True Tone (System Settings → Displays)
If your Mac has True Tone (2018 MacBook Pro and later), it uses ambient light sensors to adjust screen warmth based on your environment. A warm lamp in the room? Screen gets warmer. Bright fluorescent office? Screen stays cool.
Just make sure it's turned on. System Settings → Displays → True Tone. That's it.
True Tone and Night Shift stack. True Tone handles environmental adaptation during the day. Night Shift adds the blue-light reduction at night. Use both.
Auto-Brightness
System Settings → Displays → Automatically adjust brightness. This dims your screen in dark rooms and brightens it in sunlight.
Simple, but people turn it off because it occasionally dims at the wrong time. Leave it on. The occasional annoyance is worth not staring at a 100%-brightness screen in a dark room at 11 PM.
Level 2: Adjustments Most People Miss
Reduce White Point (Accessibility)
This is the single most underused eye-comfort setting on macOS.
System Settings → Accessibility → Display → Reduce White Point
It caps the maximum brightness of white pixels on your screen. Even at full brightness, whites become less aggressive. This is different from just turning down brightness - it specifically targets the harshest part of the spectrum.
Set it to about 20-30% reduction. You'll notice whites look slightly cream-colored. Your eyes won't be stabbed every time a white webpage loads.
Dark Mode + Accent Colors
Dark Mode helps, though how much depends on your display. On an OLED screen, black pixels are genuinely off, so the drop in light output is dramatic. Every Mac laptop and desktop display, however, is LCD or mini-LED - the backlight stays on regardless, so what you actually get is less white surface area rather than a darker panel. Still worth it, just don't expect the OLED effect.
There's also a catch: pure dark mode (#000000 background with #FFFFFF text) creates its own strain. The contrast is too extreme.
The fix: Use Dark Mode, but choose a warmer accent color (Orange or Gold in System Settings → Appearance). This softens the overall feel. Apps that use system accent colors will feel less clinical.
Display Brightness in Finer Steps
Learn these shortcuts:
- F1/F2 - Adjust display brightness one step at a time
- Option + Shift + F1/F2 - Adjust in quarter-steps (much more precise)
The quarter-step trick is surprisingly useful. Sometimes full brightness steps are too coarse - one step too bright, one step too dark. The Option+Shift shortcut gives you 4x more precision.
For keyboard backlight, it depends on your model. Older MacBooks put it on the F-row (usually F5/F6). Recent models dropped those keys, so you'll find it in Control Center under Keyboard Brightness, or in System Settings → Keyboard. Turn it down at night too - a bright keyboard in a dark room is one more light source your eyes have to negotiate.
Level 3: Third-Party Apps That Go Further
Built-in settings cover 80% of the problem. For the remaining 20%, there are apps purpose-built for screen comfort.
f.lux - The Original Color Temperature App
f.lux has been around since 2009 and still does things Night Shift can't:
- Gradual transitions - shifts color temperature slowly over 60 minutes instead of Night Shift's abrupt switch
- Movie mode - preserves color accuracy for video while still reducing blue light
- Darkroom mode - inverts to red-on-black for truly dark environments
- Location-aware - adjusts based on actual sunset time at your coordinates
f.lux is free. If Night Shift feels too binary for you, f.lux's gradual transitions are worth the install.
Monitor Control - For External Displays
If you use an external monitor, macOS brightness controls don't work. Monitor Control (free, open-source) sends DDC commands to your monitor so you can adjust brightness and contrast with keyboard shortcuts - just like a built-in display.
This is essential for external display users. Reaching for the physical buttons on your monitor every evening is the kind of friction that means you'll just... never adjust it.
Level 4: Ambient Lighting - The Part Nobody Thinks About
Here's what most eye-strain guides miss entirely: the problem isn't just your screen. It's the contrast between your screen and everything around it.
Stare at a bright rectangle in a dark room and your pupils keep readjusting between the screen brightness and the room darkness. Is that the single biggest driver of fatigue during a night session? I went looking for a study that pins it down and did not find one I would be comfortable citing, so I am not going to claim it. What I will say is that the 3:1 figure quoted in display-ergonomics advice, keeping the area immediately around a screen within roughly a third of the screen's own brightness, is nowhere close to what a bright Mac in an unlit room gives you.
Treat the rest of this section as comfort, not medicine.
The Hardware Solution (Expensive)
LED bias lighting strips behind your monitor. Philips Hue Play bars, BenQ ScreenBar, or basic USB light strips. They work. They also cost $30-150 and require cables, power, and physical mounting.
The Software Solution: GlowLight
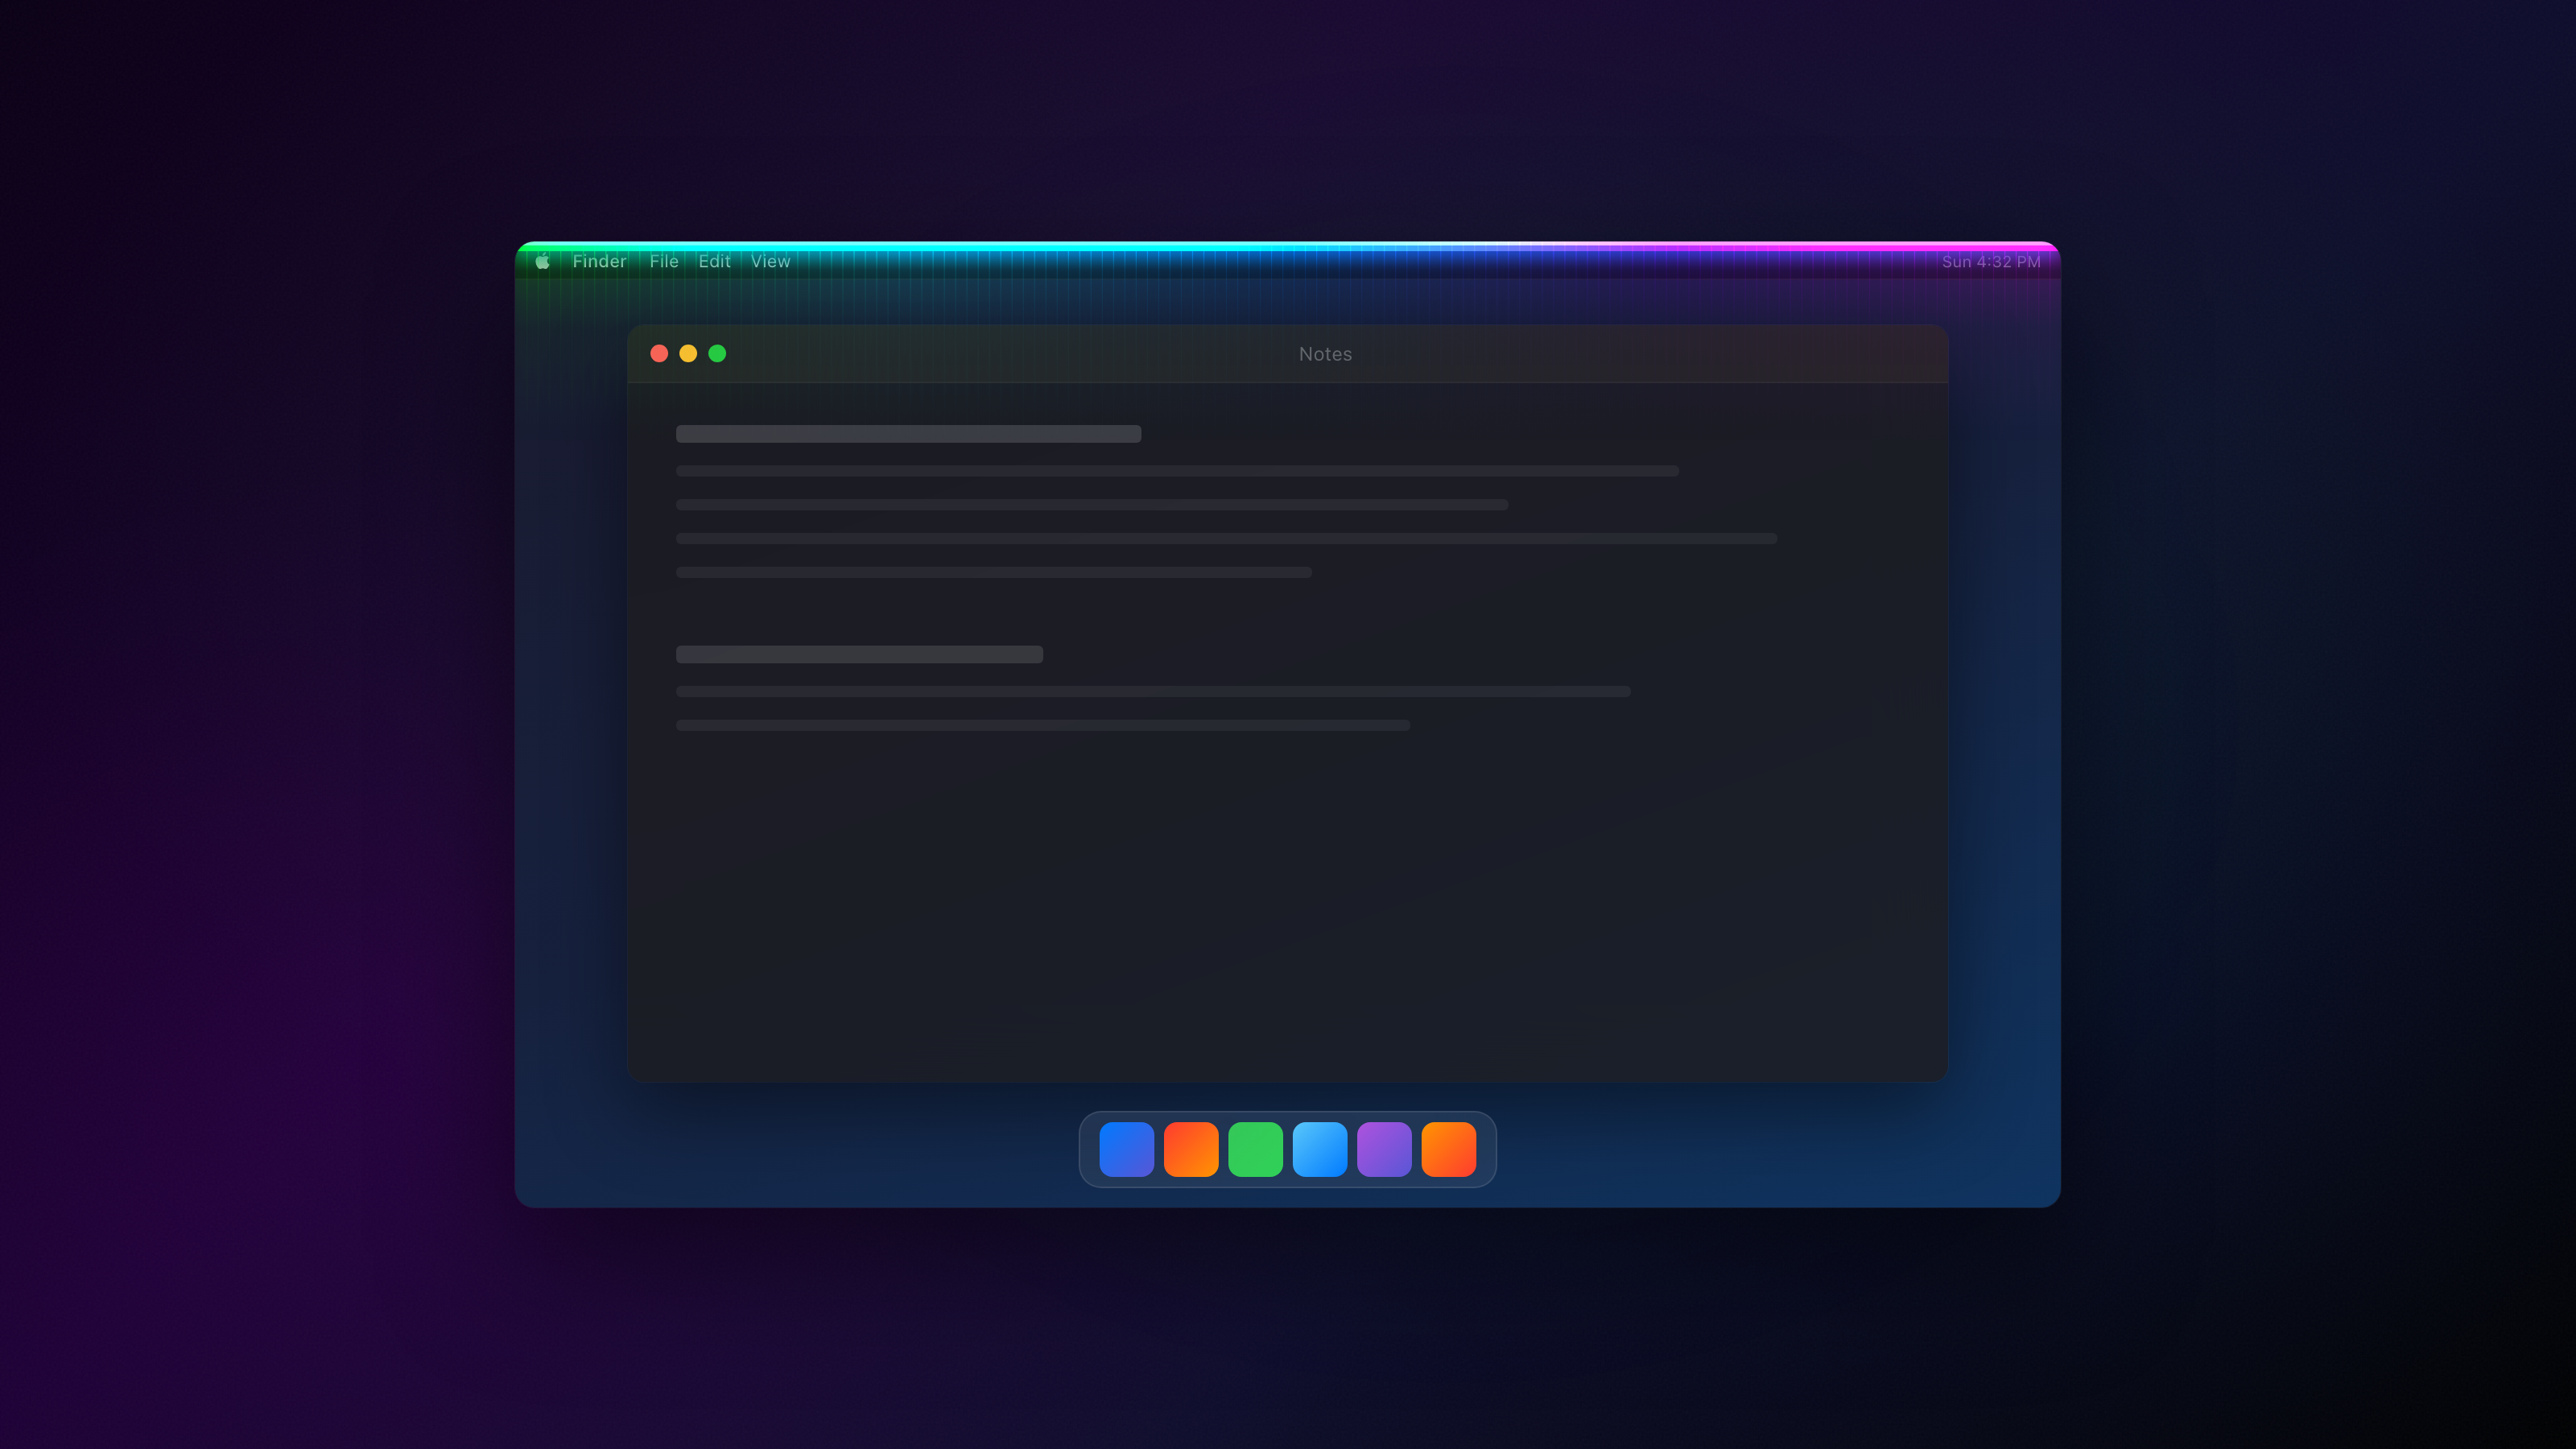
GlowLight takes a different approach. Instead of adding hardware behind your monitor, it puts the ambient light on the screen itself - a soft gradient bar along the edge, or a floating widget that sits on your desktop and glows.
Why this works for the contrast problem:
- A warm theme that costs nothing. The Sunset theme runs orange into deep red, which is exactly the direction Night Shift is already pushing your screen content. It's in the free set.
- You pick the edge coverage. Top edge only for a subtle wash, or all four edges when the room is fully dark and you want the frame effect.
- Nothing to plug in. No cable, no power brick, no reaching behind the monitor to change a setting.
- Two clicks to adjust. Menu bar icon → Settings, switch theme or edge mode. No LED strip remote to hunt for in the dark.
If you prefer the floating widget over the edge bar, there's a preset built for exactly this scenario: Mood Lamp - large, borderless, free-floating. Park it in a corner and it becomes a soft glow your peripheral vision picks up, easing the harsh boundary between "bright screen" and "dark room."
One honest note on pricing. GlowLight is free, and almost everything I've recommended above is in the free tier: the Sunset and Rainbow bar themes, two of the eleven widget styles, and full control over edge modes. Six additional gradient themes and the remaining nine widget styles are a one-time $2.99 bundle. Mood Lamp defaults to Ember Drift, which is part of that bundle, so switch the preset to one of the two free styles if you want it at no cost.
Pair it with Night Shift: Night Shift warms your screen content. GlowLight warms the space around your content. Together they address both the color temperature of what you're reading and the brightness gap around it.
Download GlowLight free on the Mac App Store →
The Setup I Use Every Night
After testing dozens of combinations, here's what stuck:
- Night Shift at 75% warmth, sunset-to-sunrise schedule
- True Tone on (always)
- Reduce White Point at 25%
- Dark Mode with Gold accent color
- GlowLight ambient bar, Sunset theme, top edge only
- Room lighting - one warm desk lamp on low (not overhead fluorescents)
Total cost: $0. Every item above is free. Total setup time: 10 minutes. The difference is dramatic - I went from ending every night session with dry, irritated eyes to barely noticing I'd been working for four hours.
Quick Checklist
Copy this and set it up in one sitting:
- Night Shift → Sunset to Sunrise, slider at 75%+
- True Tone → On
- Auto-brightness → On
- Reduce White Point → 20-30%
- Dark Mode → On, warm accent color
- Keyboard backlight → down at night (Control Center, or F5/F6 on older Macs)
- f.lux or GlowLight → Install one (or both)
- External monitor → Install Monitor Control
- Room → One warm lamp, not overhead lights
Your eyes do more work than any other part of your body during a screen session. Spending 10 minutes on these settings pays back every single night.
FAQ
Does Night Shift actually reduce eye strain, or is it placebo? Research is mixed on whether blue light itself causes eye strain (the American Academy of Ophthalmology says probably not). But warmer color temperatures reduce perceived brightness and make screens more comfortable in dark environments. Whether it's the blue light or the overall intensity, most people report less discomfort with Night Shift on. The practical result matters more than the mechanism.
Will these settings affect color accuracy for design work? Yes. Night Shift, f.lux, and Reduce White Point all shift colors. If you do color-critical work, disable them during active design sessions and re-enable them afterward. f.lux has a "disable for current app" option that helps. GlowLight doesn't touch your screen's color output - it draws its own light at the edges, so it's safe to leave on during design work.
Is GlowLight better than a physical LED strip behind my monitor? Different tradeoffs. Physical LED strips produce actual light that illuminates your wall, creating true ambient lighting. GlowLight creates an on-screen ambient effect with zero hardware. If you have a monitor against a wall and want to light up that wall, hardware wins. If you want a quick, free, no-installation solution that softens the screen-to-darkness boundary, GlowLight is more practical.
What about blue-light-blocking glasses? They work for the same reason Night Shift works - reducing blue wavelengths. But they add a permanent color shift to everything you see, including non-screen activities. Software solutions are more precise because they only affect the screen, and you can toggle them off instantly for color-accurate work.