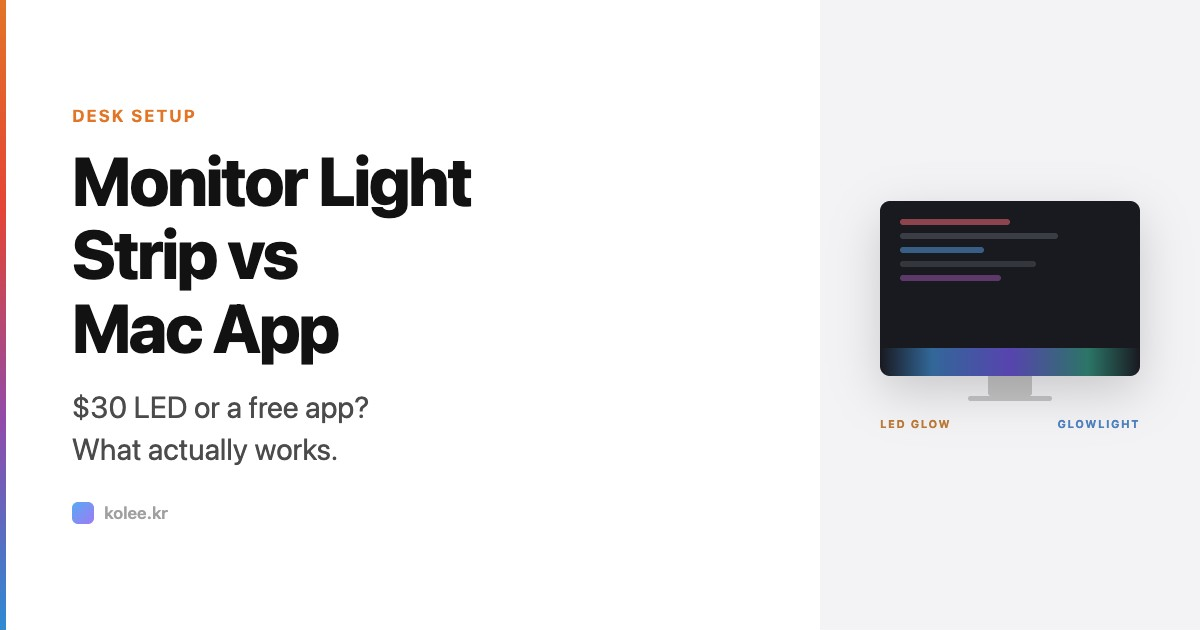
Every desk setup video has the same shot: LEDs glowing behind the monitor, bathing the wall in soft color. It looks great. It costs $30-150. It requires cables, mounting, and a power source.
But what if the ambient light came from the screen itself?
I've tested both approaches over the past year - hardware LED strips behind my monitor and a software app that creates ambient light directly on-screen. They solve the same core problem (harsh screen-to-room contrast), but they feel completely different in practice.
Here's what I found.
The Problem Both Are Solving
Stare at a bright screen in a dim room and your eyes fight two battles at once: the brightness of the content and the contrast between the screen edge and the dark wall behind it.
This is why desk setup enthusiasts add bias lighting - soft illumination behind the monitor that reduces that contrast ratio. The clinical recommendation is a 3:1 luminance ratio between your screen and its surroundings. In a dark room with no bias lighting, you're looking at 50:1 or worse.
Both hardware strips and screen-based ambient apps address this. They just do it from different directions.
Option 1: Hardware LED Strips
The classic approach. Mount LED strips behind your monitor or use dedicated bias lighting products.
Popular Options
Govee Monitor Light Bars ($25-60) Clip onto the top of your monitor and project light downward onto your desk, not behind it. Great for illuminating your keyboard area. Not true bias lighting - they don't light the wall behind your monitor.
Hue Play Light Bars ($60-130 for a pair) Mount behind your monitor and cast colored light onto the wall. Support Hue Sync for real-time screen color matching. Premium quality, premium price. Require a Hue Bridge ($50+) if you don't already have one.
BenQ ScreenBar ($109) A monitor-mounted task light designed to illuminate your desk without screen glare. Excellent build quality. Again, this is desk lighting rather than wall bias lighting - different purpose.
Generic USB LED Strips ($10-25) Adhesive RGB strips you stick to the back of your monitor. Powered by USB. Basic but effective for wall bias lighting. No smart features, no app control, limited to whatever color you set and forget.
What Hardware Does Well
- Actual wall illumination. Light physically bounces off the wall behind your monitor. This is real bias lighting and it genuinely reduces perceived contrast.
- Room ambiance. Hue Play bars make your desk setup look stunning in photos. The wall glow is a visual element that software can't replicate.
- Works with any OS. No software dependency. Plug in and it works whether you're on macOS, Windows, or Linux.
Where Hardware Falls Short
- Cable management. Every strip needs power. USB strips draw from your monitor or laptop. Hue Play bars need outlet access. One more thing to route and hide.
- Fixed position. Once mounted, they stay there. Rearranging your desk means reattaching strips.
- One-dimensional. Most strips cast a static glow. Hue Sync adds screen-reactive color, but it's an extra $230 for the Sync Box - and it's designed for entertainment, not work.
- Monitor-specific. Switch monitors or use your MacBook standalone? The strips stay on the old monitor.
Option 2: Software Ambient Light (GlowLight)
A different approach entirely. Instead of lighting the wall behind your screen, create ambient light directly on your display.
GlowLight runs as a Mac widget - either a subtle gradient bar along the screen edge or a floating waveform that reacts to your system's CPU and memory activity in real time.
What Software Does Well
- Zero hardware. No strips, no cables, no mounting tape. Install and it's running in 30 seconds.
- Moves with your Mac. Use a MacBook at a coffee shop? GlowLight is already there. Switch desks? Already there. No monitor dependency.
- Reactive. The floating waveform changes shape, speed, and intensity based on what your Mac is actually doing. Compiling code? The wave gets intense. Idle? It's calm. This makes the ambient effect feel alive rather than static.
- Two surfaces, two sets of looks. The ambient bar carries 9 gradient themes. The floating widget has 11 visualization styles, each a genuinely different renderer rather than a color swap.
- Free to start. The download costs nothing. Three bar themes (Solid, Rainbow, Sunset) and two widget styles (Chromatic Edge, Rain) are free. A single $2.99 one-time purchase unlocks the other 6 themes and 9 styles. No subscription.
Where Software Falls Short
- No physical wall glow. The light exists on your screen, not on the wall behind it. If your goal is to make your wall glow in desk setup photos, software can't do that.
- Mac only. GlowLight is a macOS app. Windows and Linux users need to look elsewhere.
- Screen real estate. The widget occupies a small area of your screen. In full-screen apps, it's hidden (unless you use the overlay mode).
- It's a visual effect, not a lamp. It won't light your keyboard, and it doesn't change your display's color temperature. If you want less blue light at night, that's Night Shift's job, not this.
When to Use What
This isn't a "one is better" comparison. They solve the same problem from different angles, and the right choice depends on what you actually care about.
Get Hardware If...
- You have a permanent desk setup with a fixed external monitor
- You want your wall to glow for the aesthetic (and the Instagram photo)
- You use multiple operating systems on the same monitor
- You're willing to invest $50+ and manage cables for the best bias lighting effect
Get GlowLight If...
- You use a MacBook (with or without an external display)
- You move between locations - home desk, office, coffee shop
- You want ambient light that reacts to what your machine is doing
- You want to try ambient lighting without spending money or mounting anything
- You care about the functional benefit (reduced contrast, visual comfort) more than wall glow
Get Both If...
- You have a fixed desk setup AND travel with a MacBook
- You want hardware bias lighting on the wall AND a reactive visual element on-screen
- You're the kind of person who has already optimized Night Shift, True Tone, and Dark Mode and wants the next level
Hardware handles the room. Software handles the screen. They don't conflict.
My Setup
I've landed on using both, for different reasons:
At my desk: A basic USB LED strip behind the monitor (warm white, not RGB - I got tired of color cycling after week one). GlowLight floating widget in the bottom-right corner, Ocean theme, low intensity. The strip lights the wall. GlowLight adds a living element on-screen that makes the display feel less like a static rectangle.
On the go: Just GlowLight. The MacBook screen has no wall behind it in most settings, so hardware bias lighting doesn't apply. The floating widget provides enough ambient softness to make late-night sessions in dim rooms comfortable.
The combination costs about $15 total (cheap USB strip plus the app, free or $2.99 if you want every theme). The fancy Hue Play plus Sync Box setup would cost $280+ for a functionally similar result.
Quick Comparison
Setup time: Hardware 15-30 min (mounting, cables, app pairing) vs GlowLight 30 seconds
Cost: Hardware $10-230 vs GlowLight free, $2.99 to unlock everything
Portability: Hardware stays on the monitor vs GlowLight moves with your Mac
Wall glow: Hardware yes vs GlowLight no
Screen-reactive: Hardware needs Hue Sync ($230+) vs GlowLight built-in (CPU/memory reactive)
Power: Hardware needs a USB port or wall outlet vs GlowLight runs on the Mac you already have on
OS support: Hardware any OS vs GlowLight macOS only
Bottom Line
If you've been eyeing a Govee light bar or Hue Play setup purely for eye comfort and reduced screen contrast - try GlowLight first. It's free, takes 30 seconds to set up, and solves the contrast problem from the screen side rather than the wall side.
If you want the full desk setup aesthetic with wall glow, hardware is the only way. But you might find that adding GlowLight alongside your LED strip gives you something the strip alone doesn't - a screen that feels like it's breathing.